Garage Door Spring Repair in Barstow, CA
Struggling with a garage door issue in Barstow? Get swift, expert spring repair services from Good Golly Garage Doors. Call today for immediate assistance!
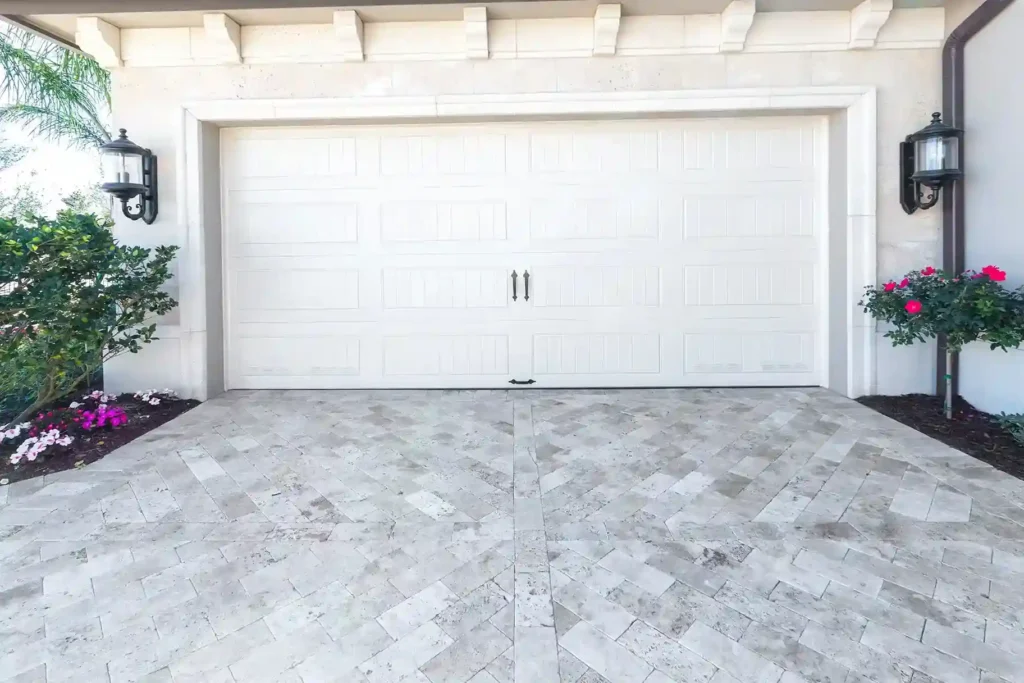
Your Garage Door Won’t Open or Feels Heavy to Lift
If your garage door suddenly feels impossibly heavy to lift or fails to open smoothly, you are likely dealing with a broken torsion or extension spring, a frequent mechanical failure given the extreme temperature fluctuations in Barstow. A snapped spring renders the door inoperable and dangerous, trapping your vehicle inside or leaving your home vulnerable. Good Golly Garage Doors provides rapid, professional spring repair services to restore the balance and functionality of your system. Contact us now to schedule your spring replacement or repair service.
- Restore access: Get your garage door fixed within the same day, speed without compromising safety or quality.
- Upgrade for durability: Benefit from high-grade, weather-resistant springs designed to withstand high heat and desert conditions.
All repairs are fully licensed and conducted in strict compliance with local safety regulations and manufacturer standards.
What to Expect During a Professional Spring Repair Service
A broken spring is not merely a hardware issue; it is a breakdown of the counterbalance system that manages the entire weight of your garage door. When you request a repair service, the objective is to return the door to a “neutral” weight, where it can be lifted easily by hand or by the opener without strain.
The scope of a standard spring repair involves more than just swapping out a metal coil. It requires a comprehensive assessment of the door’s weight, track alignment, and the condition of the cables. In many cases, when a spring snaps, the sudden release of tension can cause cables to jump off their drums or pulleys to warp. A proper service visit addresses the entire counterbalance assembly to ensure the new springs are not subjected to uneven tension, which would shorten their lifespan.
Technicians arrive equipped with a variety of spring sizes. Garage door springs are not “one size fits all.” They are rated by “cycles”, one cycle being a full open and close action. Standard builder-grade springs are typically rated for 10,000 cycles. However, given the usage patterns in residential homes, high-cycle springs rated for 25,000 to 50,000 cycles are often recommended. These heavy-duty options use a thicker wire gauge and are better suited to resist the metal fatigue caused by daily use.
The Critical Role of Spring Type and Configuration
Understanding which type of spring system your garage utilizes is the first step in the repair process. There are two primary configurations found in residential properties, and each requires a distinct repair approach.
- Torsion Springs: These are mounted horizontally above the door opening on a metal shaft. When the door comes down, these springs wind up, storing energy. When the door goes up, they unwind, releasing that energy to lift the door. Torsion springs are the industry standard for modern homes because they offer a smoother operation and greater safety containment in the event of breakage.
- Extension Springs: These run parallel to the ceiling tracks on either side of the door. They extend (stretch) to create the necessary tension to lift the door. Extension springs rely on a system of pulleys and cables. If your home uses this system, it is vital to ensure that safety cables are installed. These safety cables run through the center of the spring and prevent it from becoming a dangerous projectile if it snaps.
The repair service includes the precise measurement of the existing spring’s wire size, inside diameter, and length. Installing a spring that is even slightly mismatched to the door’s weight can lead to a door that drifts down (too weak) or flies up (too strong), both of which create safety hazards and put excessive wear on the electric opener.
Step-by-Step Spring Replacement Process
Repairing a garage door spring is a highly technical procedure that involves managing extreme tension. Professional technicians follow a rigorous sequence to ensure safety and accuracy.
- Site Safety and Diagnosis: The process begins with securing the door. If the door is stuck open or halfway, it must be blocked or clamped to prevent it from crashing down. The technician inspects the break to confirm it is a spring failure and not a cable or opener issue.
- Releasing Residual Tension: If one spring is broken but a second one remains intact (in a dual-spring system), the tension must be carefully unwound from the unbroken spring before any removal can occur. This is done using winding bars and requires a firm stance and experience to prevent injury.
- Disassembly of the Counterbalance System: The center mounting bracket and the cable drums at the end of the torsion tube are loosened. This allows the torsion tube to slide, facilitating the removal of the old springs. For extension springs, the safety cables and pulleys are disconnected.
- Installation of New Hardware: The new springs are slid onto the torsion tube. The stationary cones are bolted to the center bracket, and the winding cones are positioned for tensioning. Great care is taken to ensure the springs are installed on the correct side (left-wind vs. right-wind) to ensure the door lifts rather than drives into the ground.
- Winding and Tensioning: This is the most critical phase. The technician uses winding bars to apply the exact number of turns required for the door’s height and weight. For example, a standard 7-foot door typically requires a specific number of quarter-turns to achieve the correct lift.
- Lubrication and Testing: Once tensioned, the coils are lubricated to reduce friction and noise. The door is then operated manually to check for balance. A perfectly balanced door should stay in place when lifted halfway. If it drops or rises on its own, the tension is adjusted. Finally, the electric opener is re-engaged and the force settings are recalibrated to match the new spring tension.
When to Replace vs. Repair: The “Two-Spring” Rule
Homeowners often ask if they can replace just the single broken spring to save on costs. While technically possible, it is almost universally advised against by industry professionals.
Garage door springs are installed in pairs on most double-car garage doors, and they are typically from the same manufacturing batch. They undergo the same number of cycles every time the door opens and closes. If the right-side spring snaps today, the left-side spring is statistically likely to fail within a very short period, often days or weeks later.
- Economic Efficiency: Paying for a second service call a week later doubles the labor cost. Replacing both springs simultaneously incurs only one service fee and ensures the door is balanced with equal strength on both sides, request a quote today.
- System Balance: An old spring has lost some of its tensile strength through years of stretching and contracting. Pairing a brand-new, strong spring with an old, fatigued spring creates an imbalance. The new spring will pull harder, causing the door to rack (twist) in the opening, which damages the rollers and tracks.
- Preventative Maintenance: If your system is older than seven years, or if you hear excessive squeaking and grinding, it may be time to overhaul the hardware. Replacing the springs, cables, and bearing plates in one visit effectively resets the clock on your garage door’s mechanical system.
Risks of DIY Spring Repair
It is important to address the dangers associated with attempting to repair garage door springs without professional training. The springs act as the “muscle” of the door, holding potential energy equivalent to the weight of the door (often 200 to 400 pounds).
- Kinetic Energy Release: The most common injury occurs during the winding process. If a winding bar slips or a casting breaks while the spring is fully tensioned, the bar can be launched with enough force to cause severe impact injuries.
- Incorrect Tensioning: Without the ability to weigh the door and calculate the precise IPPT (Inch Pounds Per Turn), DIY attempts often result in improper tension. Over-tensioning can cause the door to fly up uncontrollably, damaging the opener arm and top section of the door. Under-tensioning leaves the door too heavy, stripping the gears in the electric opener.
- Wrong Part Selection: Big-box stores often sell generic springs that do not account for the specific weight variations of insulated vs. non-insulated doors, or doors with windows. Installing the wrong spring is the leading cause of premature opener failure.
Signs Your Springs Are About to Fail
While some springs break without warning, often producing a loud “gunshot” noise, there are frequently subtle indicators that the steel is reaching the end of its fatigue life. Recognizing these signs allows homeowners to schedule maintenance before they are trapped.
- Visible Gaps in the Coil: If you look at the torsion spring above the door and see a two-inch gap separating the coil, the spring has already snapped. This is the most obvious sign.
- Elongation: On extension springs, if the coils appear stretched out and do not return to their tight, compressed state when the door is open, they have lost their tension.
- Jerky Motion: If the door moves in a start-stop motion or shakes as it descends, it may indicate that the spring is binding or has lost the ability to control the weight smoothly.
- Loud Screeching: While some noise is normal, loud metal-on-metal screeching suggests that the lubrication has failed and the coils are grinding against one another, generating heat and stress.
- Cables Loose: If you notice the steel cables hanging loosely when the door is closed, it usually means the spring is no longer pulling them tight. Do not attempt to reattach these cables yourself, as the sudden re-engagement of tension can be hazardous.
Optimizing Your Garage Door for Long-Term Performance
After a spring replacement, maintaining the health of the system is essential for maximizing the return on investment. The focus shifts to reducing strain on the new components.
- Regular Visual Inspections: Check the mounting hardware and the center bracket for any signs of movement. The torque of the springs can sometimes loosen lag screws over time.
- Balance Tests: Once or twice a year, disengage the electric opener (pull the red cord) and lift the door by hand. It should move smoothly and stay put around waist height. If it slams down, call for a tension adjustment.
- Keep Tracks Clean: Do not lubricate the tracks with grease, as this attracts dust and turns into a grinding paste. Wipe them out with a dry cloth or brake cleaner to ensure the rollers move without resistance.
- Lubricate Moving Parts: Apply a non-drip garage door lubricant to the springs, rollers (ball bearings only), and hinges every three to six months. This keeps the steel hydrated and prevents rust, which is a precursor to snapping.
Restore Safety With a Stronger Spring System
When broken springs disrupt your routine, count on Good Golly Garage Doors for reliable garage door spring repair Barstow CA. Springs carry the weight of your entire door, so even a small issue can quickly become a major safety hazard. Our skilled technicians provide fast, precise spring repairs designed to restore balance, stability, and smooth operation. We use high-quality materials and proven techniques to ensure long-lasting results you can trust. Avoid the risks of DIY fixes, spring repair requires professional expertise. Reach out to Good Golly Garage Doors today for safe, efficient, and affordable service that gets your garage door moving with ease again. Protect your home and your family with a repair done right.
Proudly Serving Victorville and Surrounding Areas
We provide the best garage door services you can find across Victorville, CA. Wherever you are, Good Golly Garage Doors is ready to deliver. Let’s get your garage door in Victorville, CA or beyond back in top shape with service that’s fast, friendly, and built to last.
Call (760) 979-0605